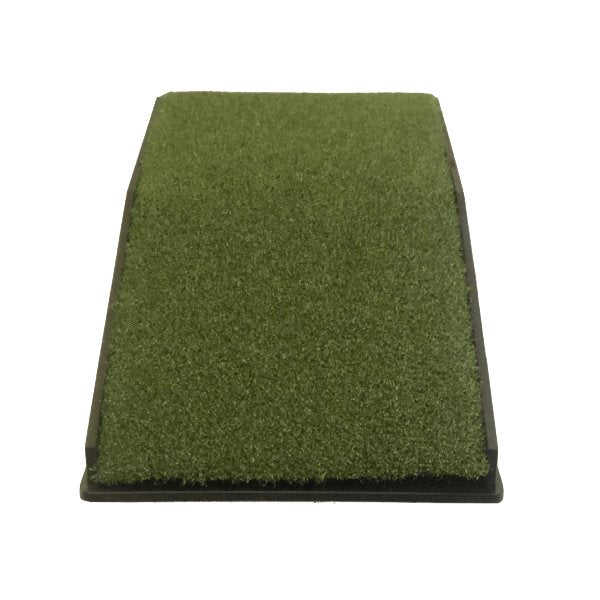
Golf Simulator Projector Floor Mount Enclosure
Golf Simulator Projector Floor Mount Enclosure
Couldn't load pickup availability
Projector Shield Floor Mount Enclosure for Golf Simulator Projectors
The Projector Shield is a floor mount enclosure for short throw projectors, designed and sold by Shop Indoor Golf. Instead of hanging your golf simulator projector from the ceiling, you place it on the floor inside the Projector Shield. That removes the need to install a ceiling mount and to run electricity and video wires up to the ceiling of your room.
Built to sit in the hitting area
The enclosure is made of 3/8" ABS plastic and fully encases the projector, isolating it from your carpet and the surrounding environment. The top is a turf-covered ramp, so the Projector Shield can sit either beside or in front of the tee area: any low shot that reaches it glides up the turf and continues into your screen.
Natural cooling, no fans
Air vent slots on both sides of the enclosure let the projector cool naturally and help prevent overheating. Because cooling is built into the case, no additional fans are needed.
Dimensions
- Enclosure (outside): 23" deep x 14" wide x 7.25" high
- Interior space: 12.5" deep x 9.5" wide x 4.75" high
- Shipping weight: 15 lb
Which projectors fit
The Projector Shield is recommended for use with short throw projectors. It works with the Optoma GT2000HDR short throw golf simulator projector, and the assembly guide includes fitting steps for the Optoma EH412ST and Optoma EH200ST. For any other model, compare your projector's dimensions with the interior space above before you order.
What's in the kit
- Projector Shield enclosure
- Lid 1 and Lid 2
- Turf top
- Rear leg stand
Setup
Remove the turf, then slide off Lid 2 and Lid 1. Place the rear leg stand inside the enclosure (the guide shows whether to use the full stand or its bottom half, depending on the projector) and rest the projector's rear legs on it. Lift the cover slightly from the inside to pass the cabling underneath, check that the HDMI and power ports are visible through the side slots, and connect them. Slide Lid 1 and Lid 2 back in and place the turf on top.
Download the Projector Shield assembly guide (PDF)
Share